
My, oh my! I have so much to catch you guys up on! I can’t even tell you how I got out of sync with posting and keeping this journey up to date, so I will spend the next several posts getting everything back on track. Currently, there are only 25 days left of 2022 (I cannot believe I haven’t posted here in 2 yrs!), and I already have some incredible trips and adventures lining up for 2023. That means I have 25 days to get you all caught up on this Selkie’s life!
My last post was all about ripping out the old carpet, upholstery lining, and original factory insulation. New, organic, Havlock wool insulation was installed throughout the van, and the subfloor as well. The next stage of my build was all about putting in the flooring, cutting out the new wall panels that would be installed, and building out the bed platform. I chose Havlock Wool because it is a natural fiber without any chemicals that will not mold or mildew. Living in Texas, it is hot and humid 95% of the year. With Zatara being a full-on metal van, condensation during the hot months would be inevitable, so choosing an insulation that would not have to be replaced due to mold and mildew from holding moisture was a top priority.
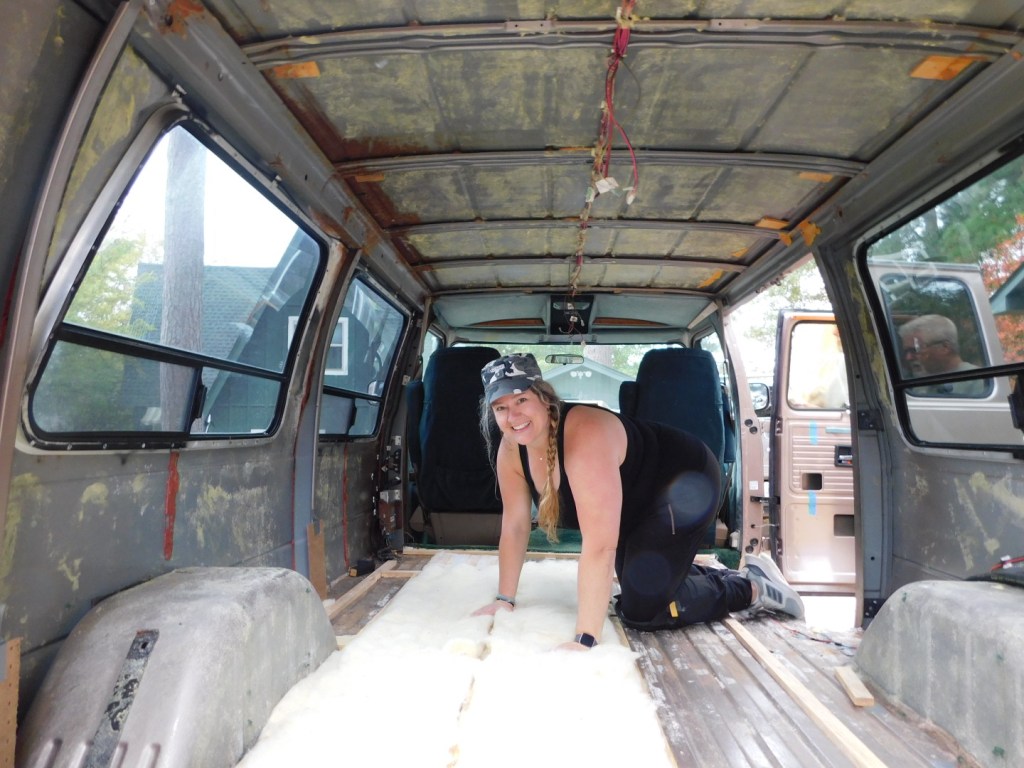
While I am very happy with Havlock, I have to admit it was not easy to work with this material. The wool sheets were great for ripping to make smaller sections for fitting in areas that didn’t need a full panel, such as around the windows and wheel wells. Getting the wool sheets to stay upright in the walls while we worked on getting the new panels in place was a whole event, though! We ended up using duct tape and string to try and hold the panels in place. That didn’t work perfectly, but thankfully it held long enough for us to get the wall panel boards installed.

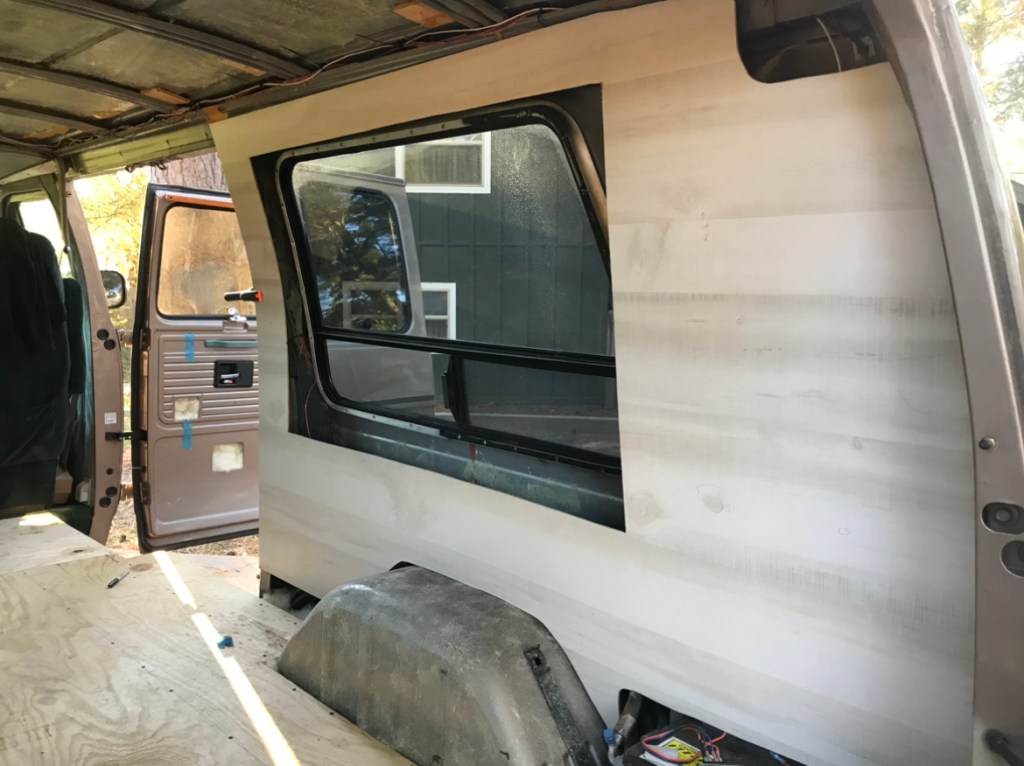
I used panel boards from Lowes, and drew the pattern for each wall section using the old pieces that we had already removed from the van. I am so thankful that we decided not to throw anything away until after we were finished with each stage because having those old pieces to use as a pattern was a game changer for sure! Before we put the insulation and panels in, we also took care of pre-wiring for the lights and USB chargers that would eventually run off the solar system.
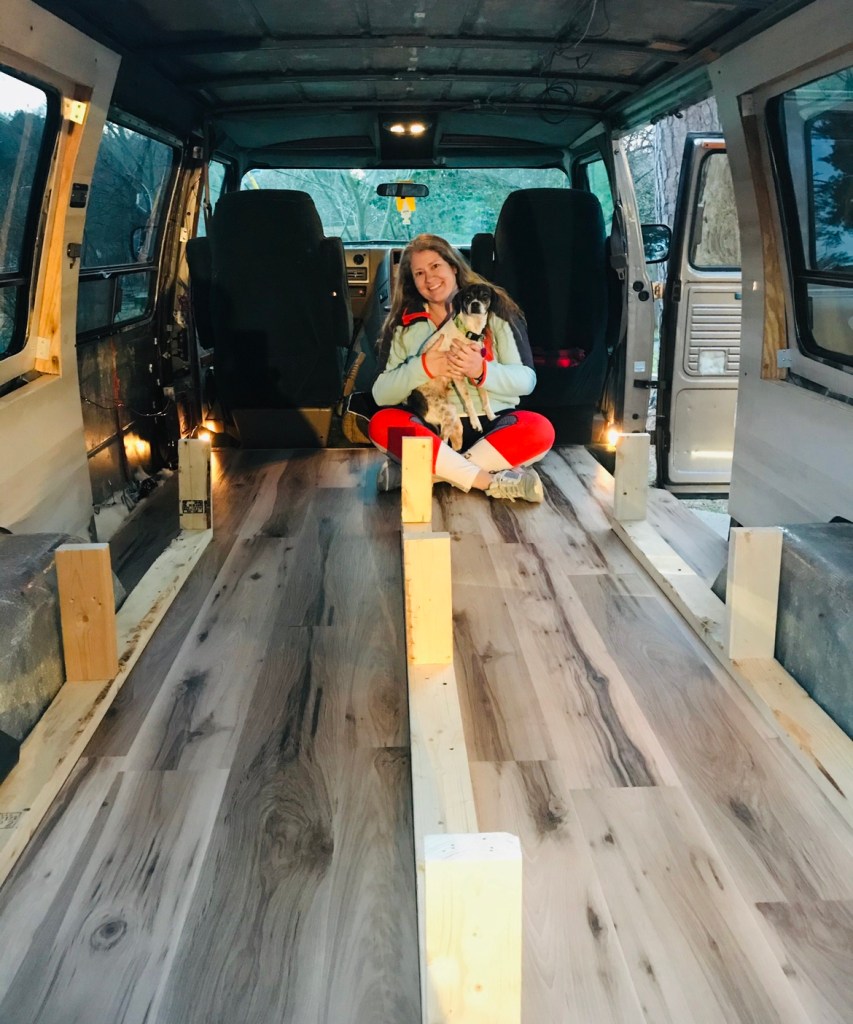
Next, we took up the task of installing the beautiful new flooring and the bed platform. For the floor, I chose a tongue and groove locking laminate in a lighter wood finish that wouldn’t show dirt easily and would also hold up to the wear and tear of adventuring. I am obsessed with the way the floors look!!!
For the bed, I bought an RV Queen size mattress. Choosing an RV queen instead of a regular size was a way to give me a little bit more room between the bed and the captains chairs at the front of the van since an RV mattress is slightly shorter. I had hoped the mattress would fit sideways to where the head and feet would be at the windows, but once the new panels went in, it just wasn’t working out to place the mattress in that orientation. I also wanted to utilize the space under the mattress for storage while keeping everything organized and locked away so that it wouldn’t be rolling and sliding around while out on the road. Underneath the bed are 4 very large drawers, The two drawers facing the cab of the van are for clothing and puppy gear (of course). These compartments are big enough that I could have a guest on a trip and there would be plenty of room to store their belongings as well.
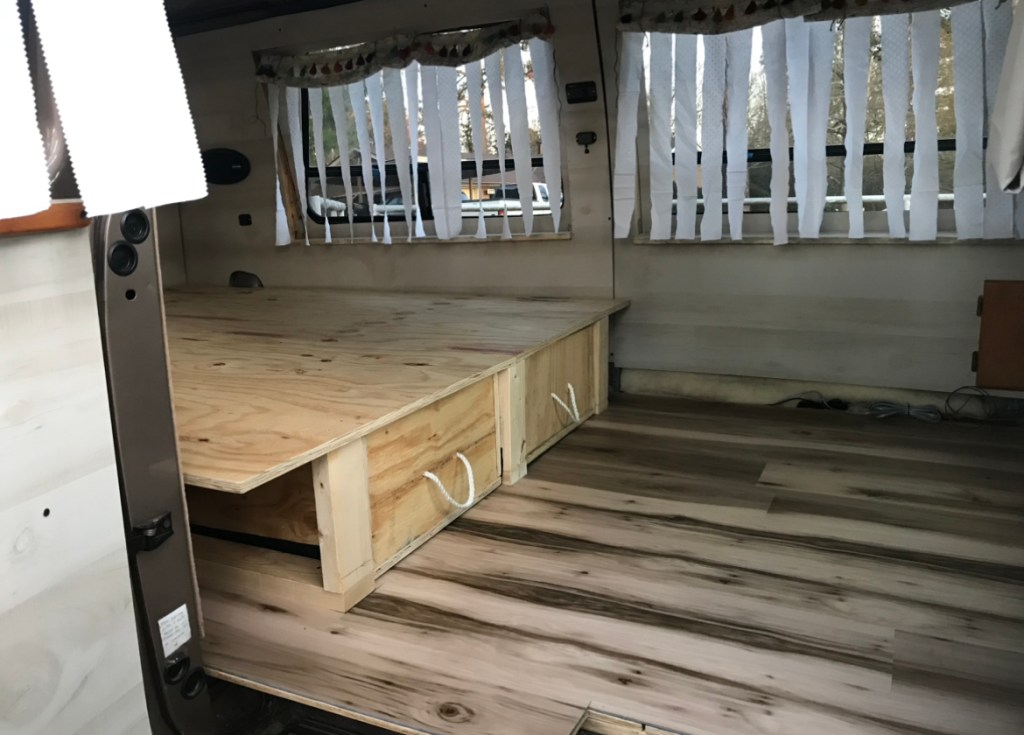
On the backside of the van, I made a third oversized drawer for gear such as trekking poles, extra gas canisters for the cook stove, snorkel gear, collapsible camp table, and packable camp chairs. The other drawer I designed to be a pull-out kitchen. Using industrial drawer slides, we designed a double decker drawer with storage in the back for my cook pots, pans, and plates. The top section of this drawer houses my camp stove. The bottom slide has my collapsible sink and a section to put cooking utensils while I’m in chef mode! My dad fixed some legs that help keep the drawer sturdy and they store next to the stove when not in use.

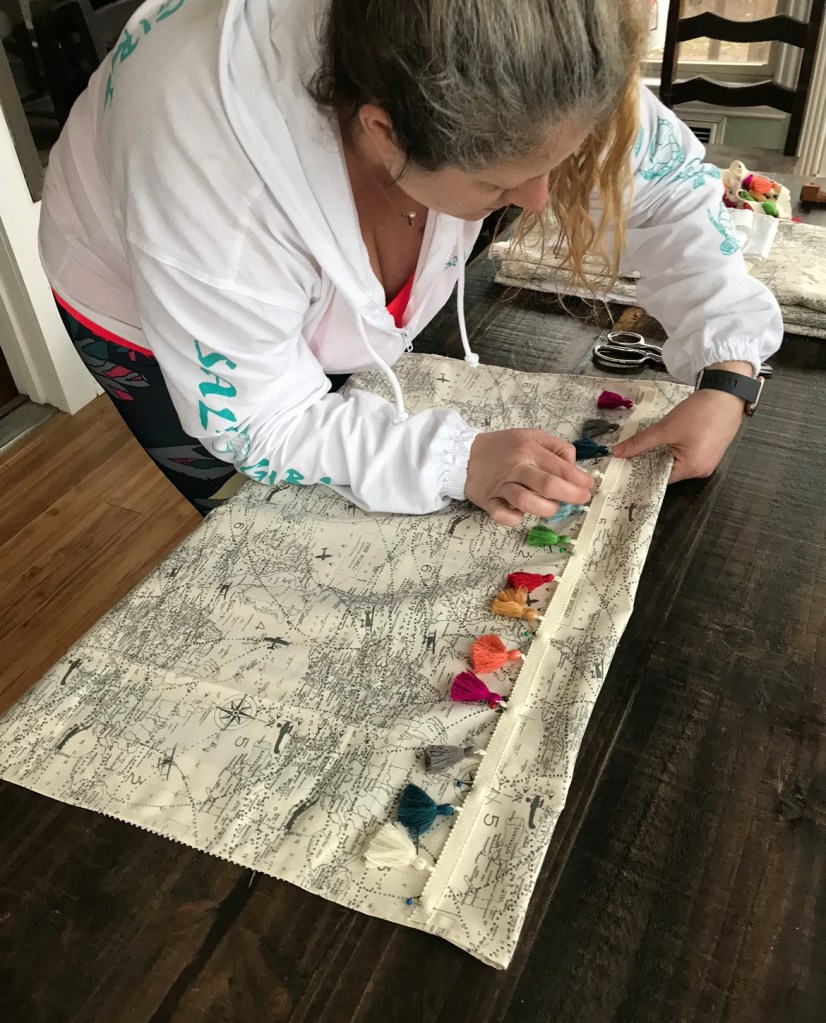
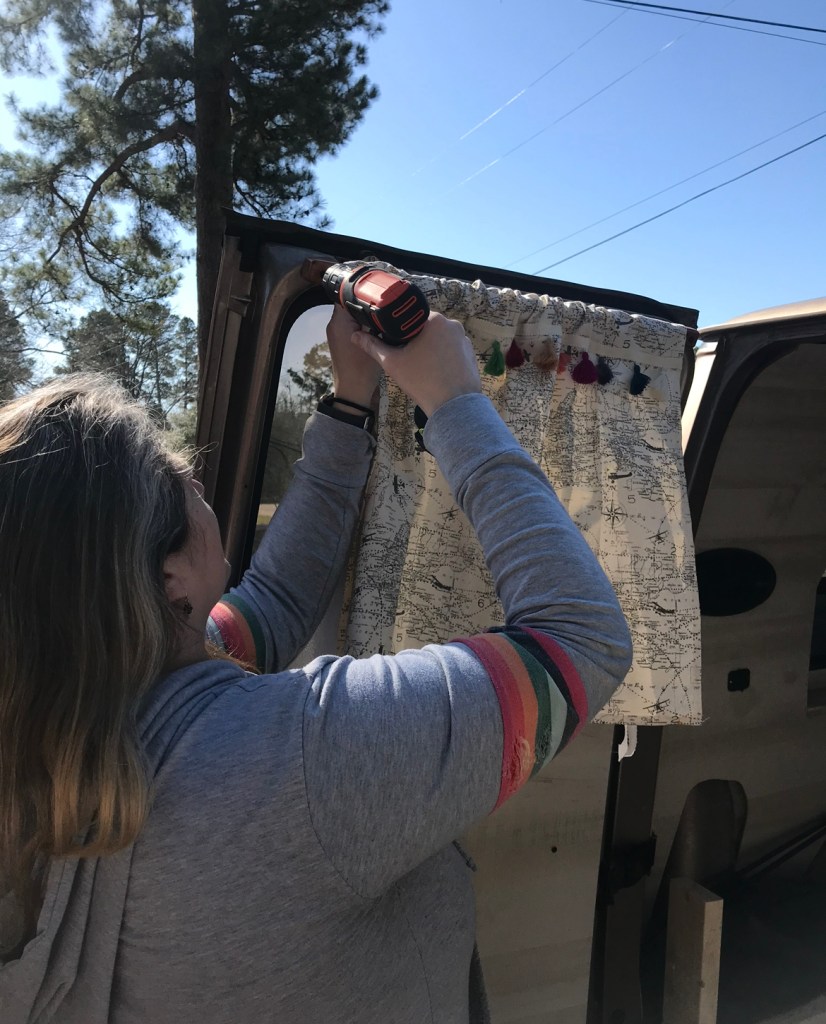
As you may have noticed from the last couple of pictures, I also added some curtains. This was a special project I did with my mom. The van has a few very large windows which are great for panoramic views at camp, but not so great for privacy while changing and sleeping. I had in my mind the “vibe” I wanted from the van while relaxing or napping at camp, so I made some gypsy rags that mom sewed behind the curtain panels. When I want privacy, I roll the curtains down and fasten to cup hooks in the windowsills to keep them secure and in place. When I want those relaxing chill vibes, I roll the panels back up, open the windows and allow the gypsy rags to blow in the breeze, I could truly sit in the van and watch those strips of fabric dance in the wind all day!
While the van is nowhere near finished at this point in Zatara’s story, I was itching to go on a quick trip, so she was ready enough for a little getaway with Hurley.


One thought on “Van Build Part 3”